A fiberglass pool is one of the fastest, cleanest ways to transform a backyard in Northern Kentucky into a space your family actually uses. But fast does not mean instant, and a smooth installation depends on planning, access, utilities, drainage, and the right pool model for your property. At Swimming Pool Innovations, we install fiberglass in-ground pools and help homeowners across Independence and the surrounding area understand exactly what happens from the moment you choose a pool to the day you turn the water on.
What makes fiberglass pools a smart fit for Northern Kentucky backyards
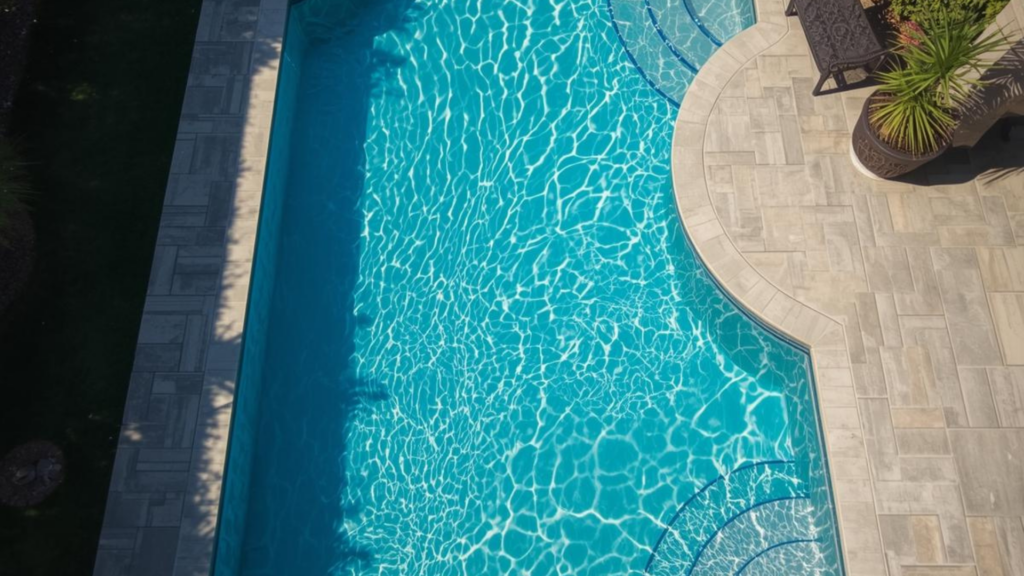
Fiberglass pools arrive as a one-piece shell manufactured offsite, which means you are not waiting on a structure to be built from scratch in your yard. That is a major advantage when you want a predictable schedule and a cleaner installation footprint. Fiberglass also has a smooth, non-porous surface that helps reduce staining and makes day-to-day upkeep simpler than many other pool surfaces. It is a practical option for busy families who want to spend more time using the pool and less time fighting the surface.
The real timeline what installation includes and what it does not
When people ask how long fiberglass pool installation takes, they usually mean how long until we can swim. The full process includes more than setting the shell, and the timeline is made up of steps that happen in sequence. Your project typically begins with planning and selecting a pool model, then moves into permitting and utility coordination. From there, excavation and base preparation set the foundation for the shell, followed by setting the pool, plumbing, and equipment connections. Backfill, leveling, and a concrete collar may be required depending on the build plan, and electrical coordination must be completed for equipment. Decking, coping, and finish work often take additional time, and start-up and orientation come at the end so you know how to operate and care for the system. Some phases move quickly, while others depend on inspections, weather windows, and contractor scheduling, which is why planning the moving parts is just as important as the dig day itself.
Step 1 Site evaluation and pool placement that avoids future headaches
Before any digging starts, we look at access, yard layout, grade changes, and where water flows during heavy rain. In Independence, a smart placement plan also considers how you will use the yard, including sun exposure, privacy, traffic paths, and where you want seating or a splash deck. We also factor in practical constraints like easements, underground utilities, and setbacks. Drainage and grading decisions made here influence long-term stability and how the pool area performs after storms, so we focus on placement that works with the property rather than fighting it later.
Step 2 Choosing the right fiberglass pool model for your family
Fiberglass pools are not one-size-fits-all, and choosing the right model is about matching the pool to how your household actually uses it. Active swimmers who want laps often prefer more linear designs, while families who entertain may prioritize wide steps, benches, and a dedicated hangout zone. Smaller yards can be ideal for compact plunge-style layouts that still feel like a true backyard upgrade. If kids are a factor, shallow lounging areas can create a more comfortable play zone, along with proper supervision and barriers. We install multiple fiberglass lines and model families, including River Pools and Barrier Reef options, and we help you weigh layout features that affect daily use.
Step 3 Permits markings and pre-dig coordination
Permits and inspections are not red tape. They are part of building a pool that is safe and code-compliant. This phase also includes utility marking and planning where equipment will sit. We want the equipment accessible for service, positioned to minimize noise near outdoor living areas, and placed in a way that supports efficient plumbing runs. Solid pre-dig coordination is one of the best ways to keep projects moving without preventable delays.
Step 4 Excavation and base prep for a stable shell
Excavation is where your backyard starts to change quickly, but the goal is not just a hole. It is a precisely shaped excavation that matches the pool shell with proper overdig allowance for base material and backfill. Base prep matters because fiberglass pools must be set on a stable, correctly prepared foundation. A rushed or uneven base can lead to settling issues later, so we focus on accurate depth, proper base material, and careful leveling because the shell will only be as good as what supports it.
Step 5 Setting the pool shell and verifying level in multiple directions
This is the moment most homeowners picture, when the shell arrives and is set into place, but it is also one of the most technical points of the entire job. We verify level continuously during setting and again as we begin to introduce water and backfill in controlled stages. The goal is a shell that remains true in multiple directions, not just visually close from one viewpoint.
Step 6 Plumbing equipment pad setup and system planning
Once the shell is set, the pool becomes a complete system. Plumbing lines, filtration, pumps, and return placement all affect long-term performance and how easy the pool is to maintain. A well-planned system supports even circulation, strong skimming action, practical service access, and a clean, organized equipment layout. If you are planning water features or special circulation needs, those elements are designed into this phase so they do not become an afterthought later.
Step 7 Backfill water fill and stabilization done the right way
Fiberglass shells are strong, but the installation method matters. Water and backfill are added in stages to balance pressure and help maintain level. This is not a dump it in and hope step. It is controlled and verified so the finished pool stays stable and holds its geometry year after year.
Step 8 Decking coping and the outdoor living finish
Deck design changes how your pool feels and how you use it. A good deck layout supports safer movement around the pool, better drainage away from the waterline, comfortable gathering zones for seating and grilling, and a clean transition between pool and yard. In Independence, many homeowners want a pool that works for everyday life, not just a showpiece, which is why we plan for practical walkways, shaded seating, and family-friendly features like splash areas. We can also coordinate backyard design elements that help the pool feel like a complete outdoor space.
Step 9 Start-up orientation and what we want you to understand before your first weekend
A successful installation is not finished when the deck is poured. We want you to understand how to run your system normally, what normal water behavior looks like during the first days, basic cleaning routines that protect the surface, and what to watch for after heavy rain or landscaping work. A pool should feel manageable, and our process is designed to give you confidence from day one.
Local context why Independence yards need planning beyond the pool shell
Independence has a mix of established neighborhoods and newer development, and that variety affects soil, drainage, and access. Whether you are near the community footprint around Simon Kenton High School or closer to the waterways connected to Banklick Creek, your property’s grading and runoff patterns matter. These are the details that determine whether your pool area stays clean and stable after storms or becomes a constant maintenance battle.
If you are ready to move forward, the simplest next step is a conversation about your yard, your goals, and the pool model that matches how you actually live.
FAQs
How do I know if my yard is big enough for a fiberglass pool?
A yard evaluation looks at setbacks, access for equipment, utility locations, and how much deck space you want. Many Independence properties can accommodate fiberglass pools when the layout is planned correctly.
Can a fiberglass pool be installed on a sloped property?
Yes, but it requires careful planning for excavation, retaining needs, and drainage. The key is designing the site so water does not collect around the pool structure.
What should I do before installation day to prepare my property?
Clear access paths, plan for temporary fencing if needed, and identify any landscaping you want protected. We also coordinate utility marking and permit steps before excavation.
How soon after installation can I use the pool?
That depends on decking and finishing scope, inspections, and start-up timing. The set day is only one milestone, and we outline the full swim-ready path for your specific project.
Do fiberglass pools work well for families with kids?
They can be an excellent fit because many models include benches, steps, and shallow lounging areas. Safety still depends on proper barriers, supervision, and responsible pool rules.